> ## Documentation Index
> Fetch the complete documentation index at: https://learn.usecardboard.com/llms.txt
> Use this file to discover all available pages before exploring further.
# Your First Video in 5 Minutes
> Let's create your first video together!
Let's go ahead with "Vlog"
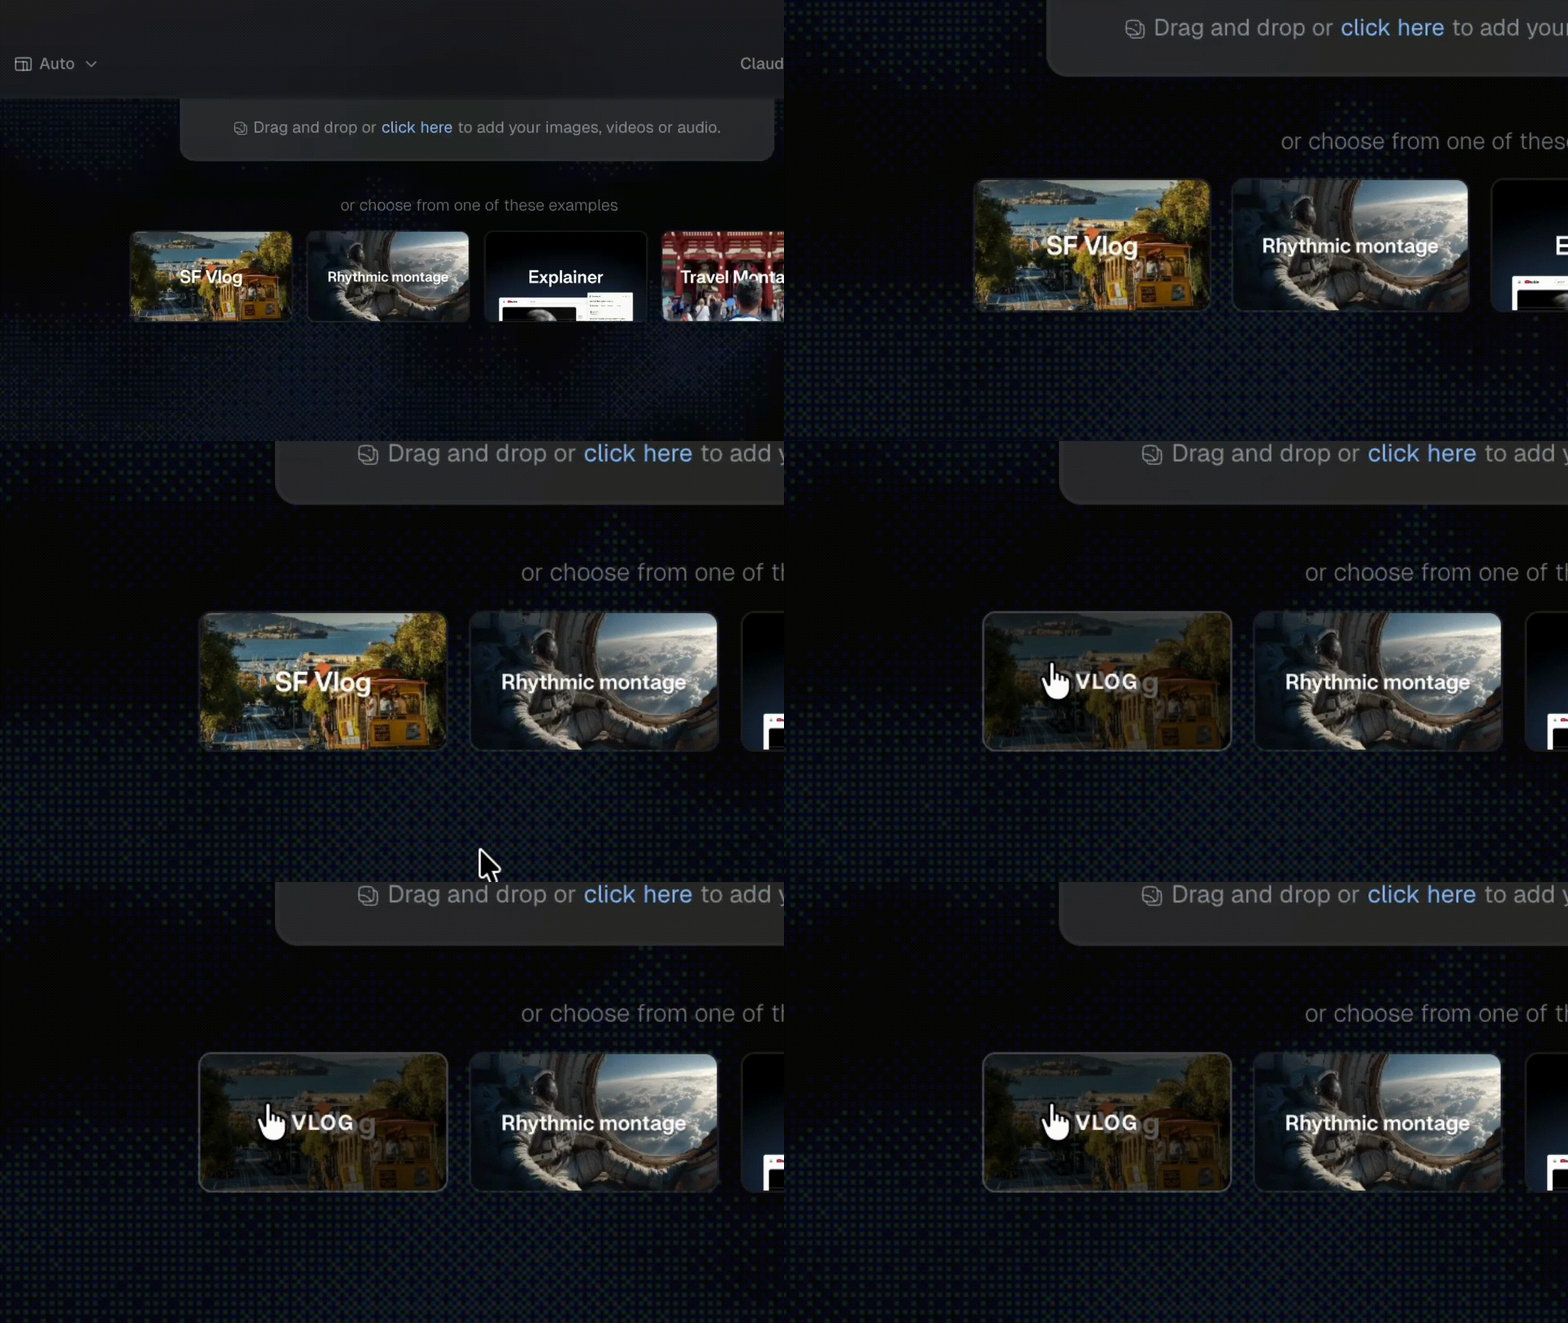 The prompt and footage are pre-filled so you can jump straight in. The prompt is:
> "Build the edit around **@voiceover.m4a** for an Instagram reel. Match visuals to the narration, choose the most relevant clips, and keep the rhythm tight and intentional"
**What's @voiceover.m4a?** The "**@**" lets you tag specific files. It's like pointing and saying "Use this one here."
You can see the uploaded raw footage, scroll horizontally to explore the footage!
The prompt and footage are pre-filled so you can jump straight in. The prompt is:
> "Build the edit around **@voiceover.m4a** for an Instagram reel. Match visuals to the narration, choose the most relevant clips, and keep the rhythm tight and intentional"
**What's @voiceover.m4a?** The "**@**" lets you tag specific files. It's like pointing and saying "Use this one here."
You can see the uploaded raw footage, scroll horizontally to explore the footage!
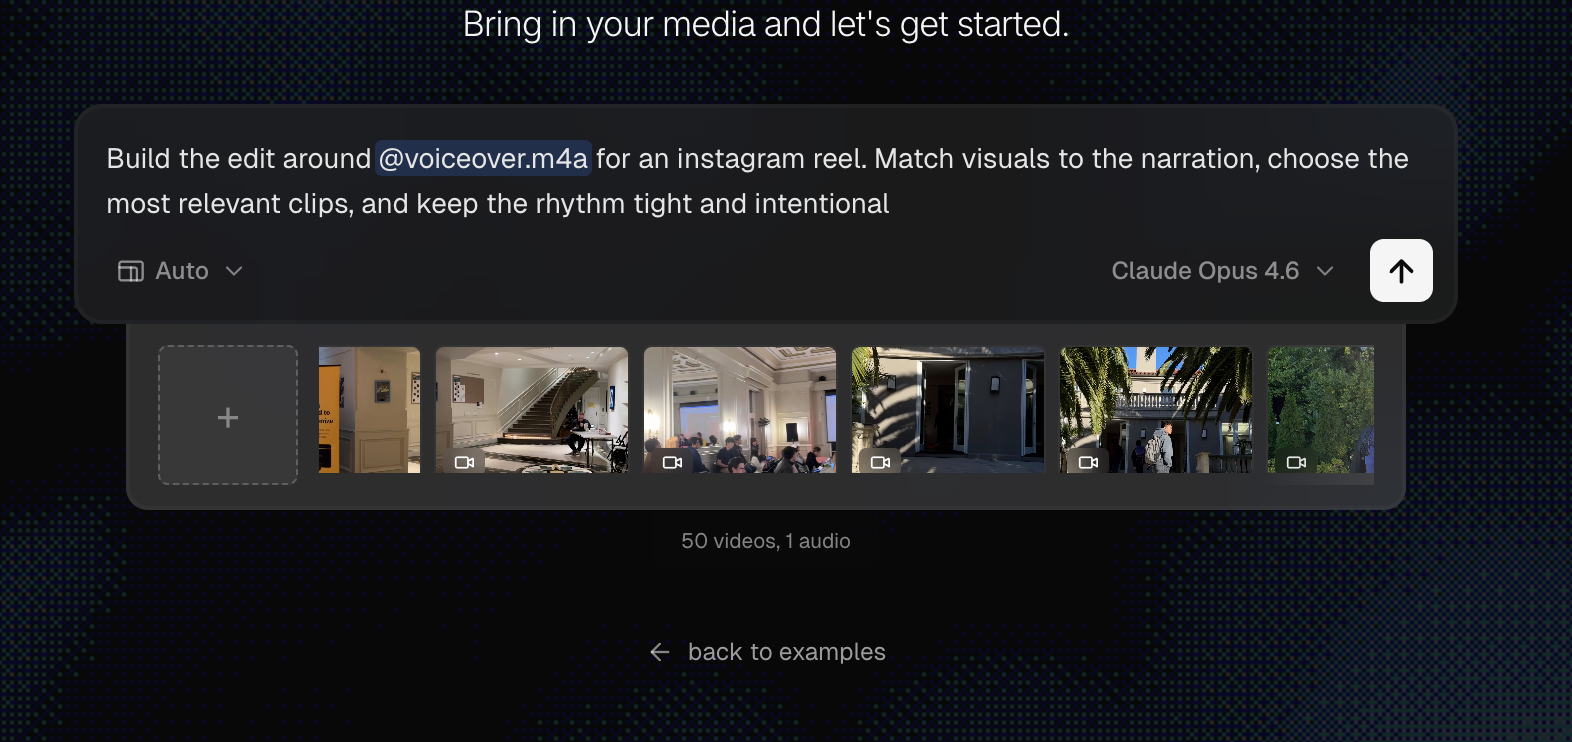 Before you hit send, two quick things:
* Pick your aspect ratio (9:16, 1:1, etc) - Bottom Left
* Choose your AI model - Bottom Right
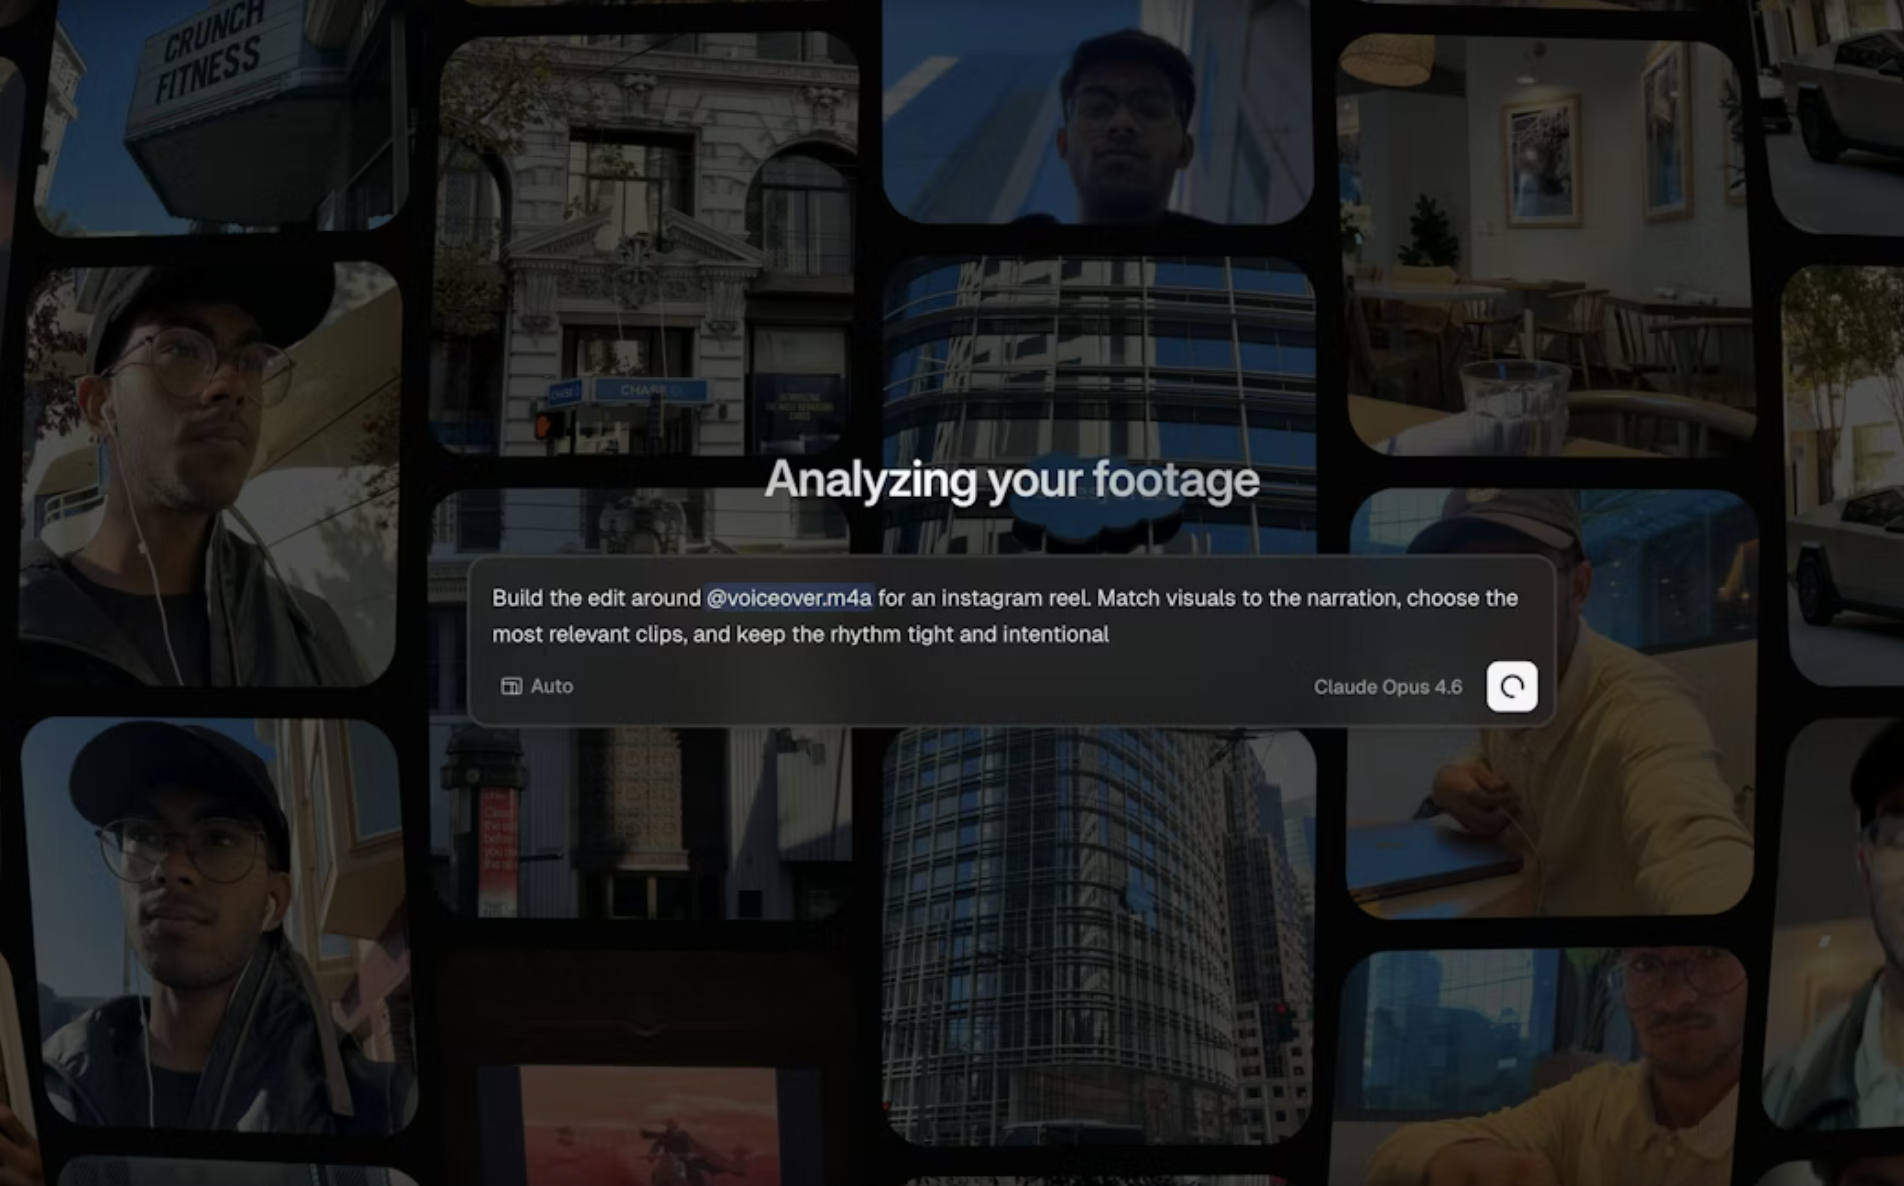
**Press Enter!**
Cardboard's working. Grab a coffee. Go for a walk. Scroll some reels.
Before you hit send, two quick things:
* Pick your aspect ratio (9:16, 1:1, etc) - Bottom Left
* Choose your AI model - Bottom Right
**Press Enter!**
Cardboard's working. Grab a coffee. Go for a walk. Scroll some reels.
 Your edit is ready. But the screen looks a little busy, let's break it down:
* **Left panel (Media Library)** - All your videos, images, and audio files exist here.
* **Centre panel (Canvas)** - Your video. Hit **Play** to watch what AI edited for you.
* **Bottom panel (Timeline)** - All your clips are sequenced here. Drag them to reorder.
* **Right panel (AI Chat)** - Keep the conversation going with Cardboard.
Watch it through. See what AI did. Maybe it nailed it - maybe you want changes. Either way, the tabs on the left side let you add frames, captions, music, SFX, filters, and more.
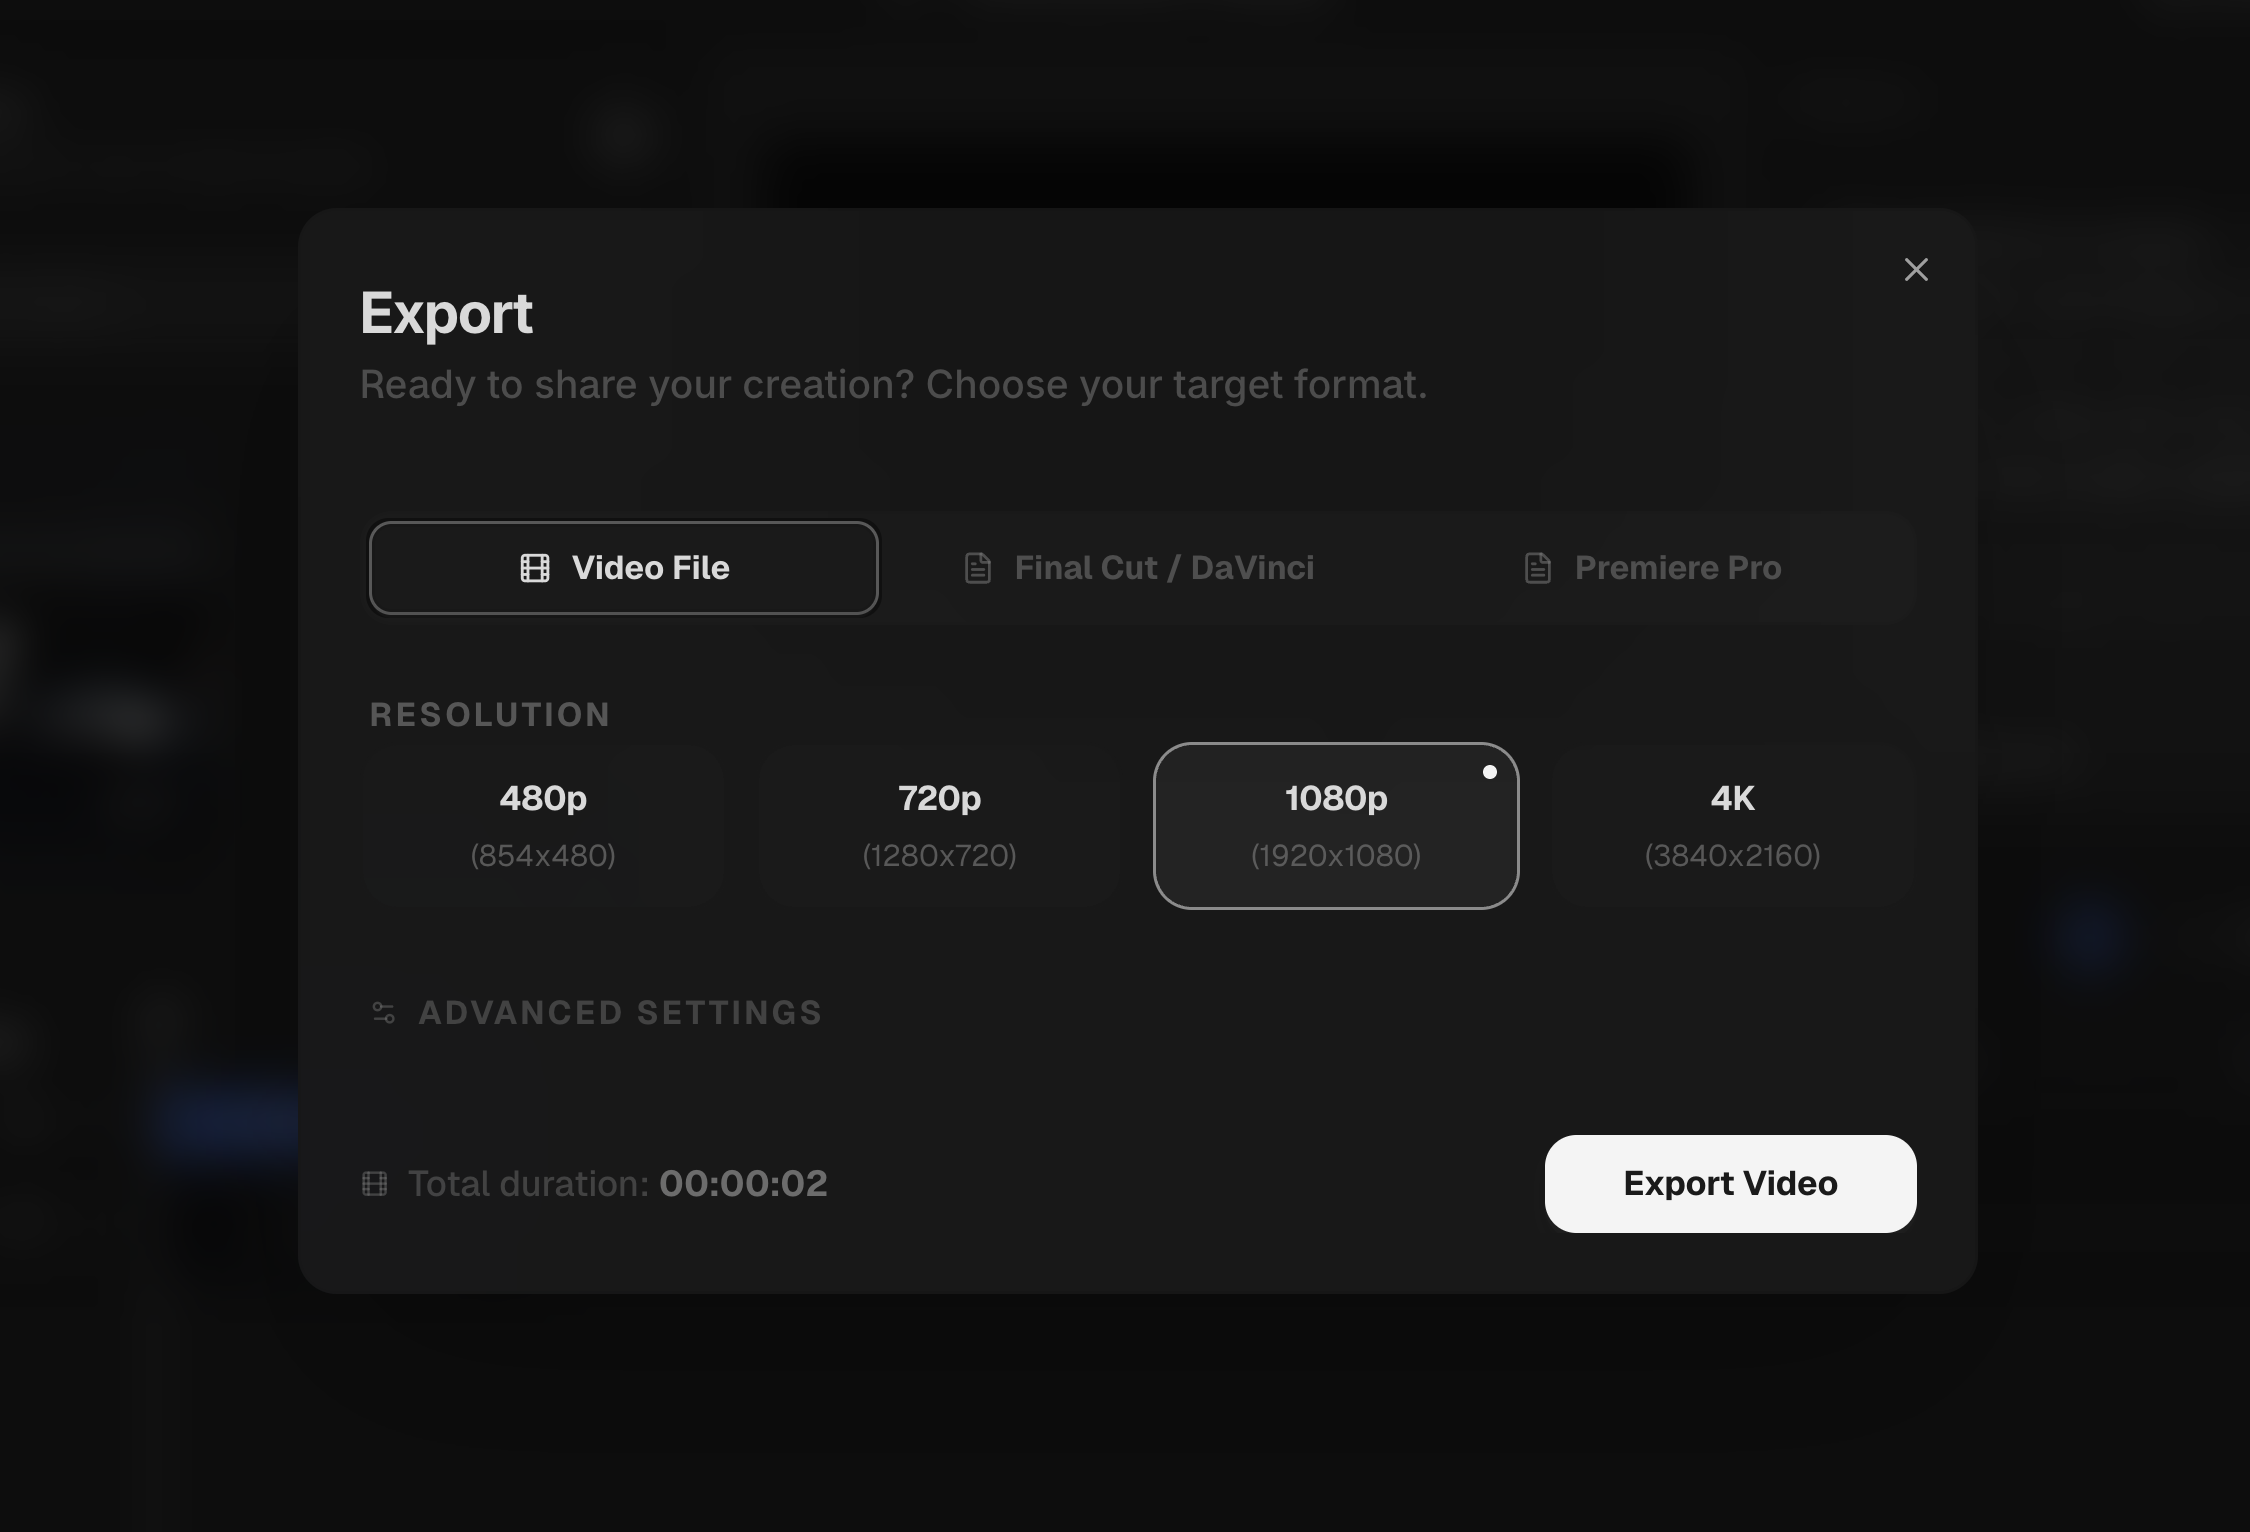
Happy with it? Click "**Export**" in the top-right corner.
Choose the resolution and click "**Export Video**"
Your edit is ready. But the screen looks a little busy, let's break it down:
* **Left panel (Media Library)** - All your videos, images, and audio files exist here.
* **Centre panel (Canvas)** - Your video. Hit **Play** to watch what AI edited for you.
* **Bottom panel (Timeline)** - All your clips are sequenced here. Drag them to reorder.
* **Right panel (AI Chat)** - Keep the conversation going with Cardboard.
Watch it through. See what AI did. Maybe it nailed it - maybe you want changes. Either way, the tabs on the left side let you add frames, captions, music, SFX, filters, and more.
Happy with it? Click "**Export**" in the top-right corner.
Choose the resolution and click "**Export Video**"
 You don't have to do everything with AI. You can manually trim, split, and rearrange clips on the timeline at any time. Use whatever mix of AI and manual editing feels right.
## Example prompts to try next
Once you have the basics down, try these prompts in the AI Chat:
* "Add a title card that says 'My First Video' at the beginning"
* "Add transitions between every clip on the timeline"
* "Add a fade out in the end of video"
## Next Steps
Learn how to prompt to get the best results.
Add captions to your videos automatically.
You don't have to do everything with AI. You can manually trim, split, and rearrange clips on the timeline at any time. Use whatever mix of AI and manual editing feels right.
## Example prompts to try next
Once you have the basics down, try these prompts in the AI Chat:
* "Add a title card that says 'My First Video' at the beginning"
* "Add transitions between every clip on the timeline"
* "Add a fade out in the end of video"
## Next Steps
Learn how to prompt to get the best results.
Add captions to your videos automatically.