The Timeline: Your Control Centre
Bottom of your screen - that’s the timeline. Every clip, every transition, every audio track lives here. Think of it like a horizontal canvas where time flows left to right. What you see is what plays.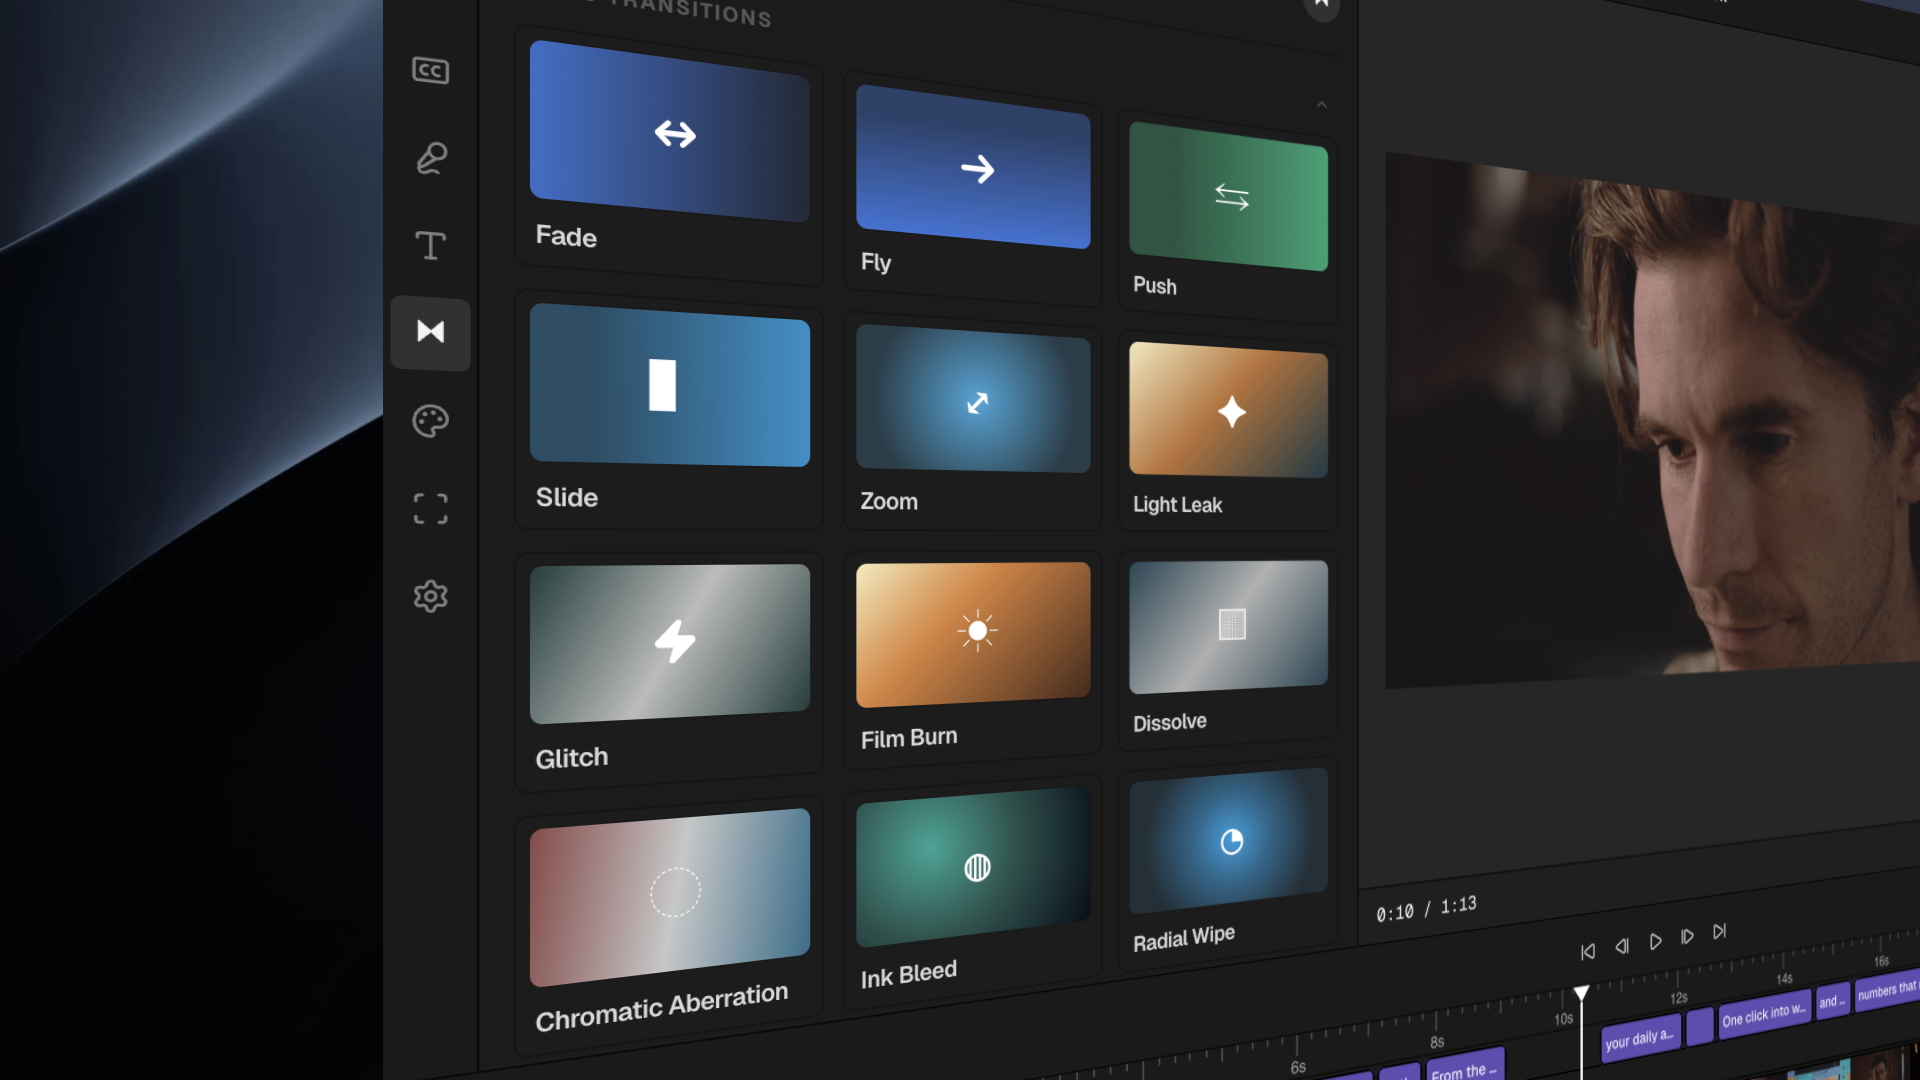
What you can do
- Moving Clips Around
- Trimming Clips
- Splitting Clips
- Deleting Clips or Sections
- Removing Gaps
- Adjusting Audio Levels
- Muting Clip Audio
- Adding Transitions
- Adjusting Clip Speed
- Adding Text
- Layering Clips (Picture-in-Picture)
- Working with Multiple Tracks
- Zooming In (Crop & Scale)
- Color Correction Basics
- Snapping Clips to Beat
Your clips are in the wrong order? Just drag and drop.How to reorder:
- Click on any clip in the timeline
- Drag it left or right
- Drop it where you want it
- Put your best shot first to hook viewers
- Rearrange the story flow
- Move the punchline to the end.
Keyboard shortcuts
Playback
Playback
- Space — Play / Pause
- L — Play forward
- J — Play backward
- Left arrow — Move playhead back one frame
- Right arrow — Move playhead forward one frame
Tools
Tools
- C — Razor / Split tool
- R — Toggle ripple edit mode
- V — Selection tool (default)
Editing
Editing
- Backspace / Delete — Delete selected clip
- Cmd/Ctrl+D — Duplicate selected clip
- Cmd/Ctrl+C — Copy clip
- Cmd/Ctrl+V — Paste clip
- Cmd/Ctrl+Z — Undo
- Cmd/Ctrl+Shift+Z — Redo
What’s next?
Media Library & Search
Import and find your media files.
Editing with AI Chat
Use AI commands to edit your timeline faster.